About Services Tools Blog Contact us

Sketch to Finished Image

Turns a sketch and a text description into a finished picture with Stable Diffusion on the local machine, with a test mode that compares speed and quality settings.

  • Image Generation
  • Cross-sector
  • Tool
  • Productised
  • Local/private
  • 2025

The problem

A sketch already has the composition, and a generator that takes only text ignores it. Redrawing the sketch as a finished still by hand costs an afternoon. Nobody had a record of which speed setting was good enough.

What it does

The sketch is resized and run through Stable Diffusion on the machine's own graphics chip. A strength setting controls how far the result may depart from the sketch. The default path is quick and uses few passes. Test mode saves an image and a timing report for several settings and prints a recommended command.

Outcomes

  • The finished picture follows the composition of the sketch.
  • The job runs on our own machine.
  • A fast setting and a slower one can be compared on the same sketch.
  • The recommended command is kept with the timings.

Simplified mockup

Interactive preview with sample data. Nothing is sent to a server.

Sketch to still

on this machine
Sketch strength 0.55
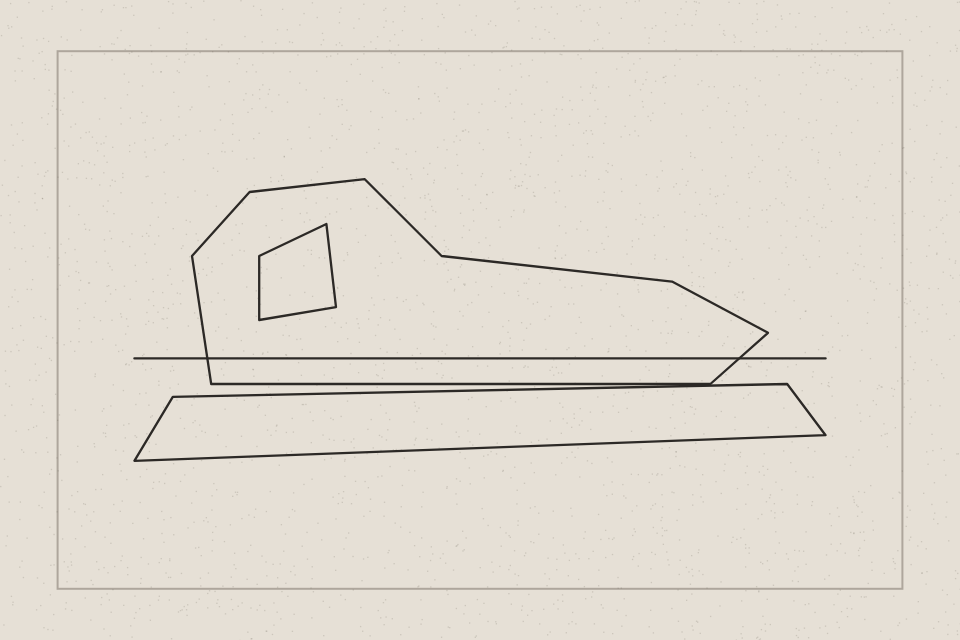
Pencil sketch of a tan ankle boot on paper
Finished still
Empty until you generate
Nothing leaves the machine

Same sketch, two settings

Fast 4.2 s · Slow 11.4 s

Fast 4 steps
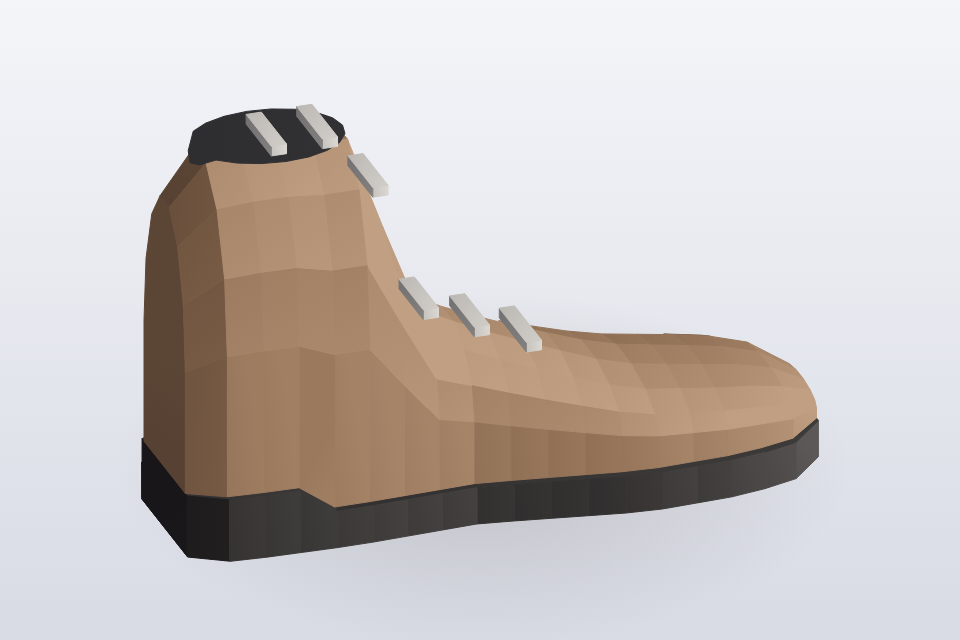
Softer four-step finish of the boot

4.2 s. Outline held, surface a little soft. Good enough for a layout check.

Slow 20 steps
Sharper twenty-step finish of the same boot

11.4 s. Same crop, cleaner edge, white ground. The sketch is still the composition.

Benchmark on this sketch

SettingStepsStrengthSchedulerTime
Fast40.65Fast4.2 srecommended
Balanced80.55Fast7.1 skept
Slow200.45Slow11.4 ssharper
Recommended command

sketch-to-image --steps 4 --strength 0.65 --scheduler fast --seed 1842

Printed from the timings. The sketch stays the input. No second composition.

How it works

  1. Load the sketch and resize it for quality.
  2. Give a description of what to draw and what to avoid.
  3. Set the strength, which decides how far the result may leave the sketch.
  4. Run the default quick path with few passes on the graphics chip.
  5. In test mode, run several settings and save an image and a timing report for each.
  6. Print a recommended command from the timings.

Pipeline

flowchart LR
  A["Sketch"] --> B["Scale"]
  B --> C["Prompt"]
  C --> D["Stable Diffusion"]
  D --> E["Finished PNG"]
  D --> F["Benchmark timings"]
  F --> G["Recommended command"]

Output